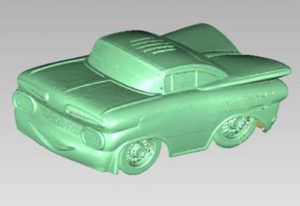
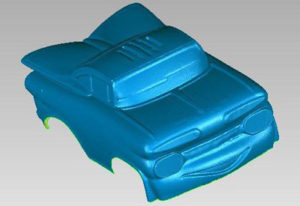
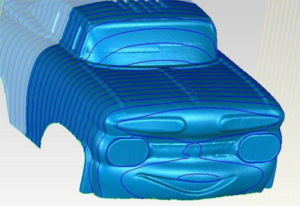
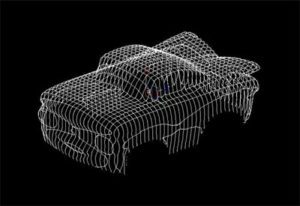
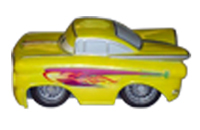
 This type of commercial application showcases the remarkable capabilities of 3D laser scanning to accurately, completely, and quickly facilitate changes in scale; small items can be made larger to scale or larger items can be scaled down.
The Challenge:
To scan a small complex object and create cross sections to represent the internal structure used to build the objects on a larger, life-size scale and to generate DXF curves needed for the CNC wire bending operations involved.
An STL file was generated and refined from the scan data, and used to create surface wrap models and cross sections which took another 2 hours.”
The Solution:
Laser Design engineers scanned the small object using the Laser Design ZS system with the high-accuracy Laser Design SLP-500 laser line scanning probe (with accuracies of up to 0.011mm and 0.005mm resolution). This probe includes both a Renishaw PH-10 programmable indexing head along with a rotary 4th axis stage.
The laser scanning system projects a line of laser light onto all of the part’s surfaces while cameras continuously triangulate the changing distance and profile of the laser line as it sweeps along. Non-contact scanning means that the problem of missing data on a complex free-form surface is greatly reduced. The system measures fine details so that the object can be exactly replicated digitally. Laser scanners measure articles quickly, picking up to 75,000 coordinate points per second, and generate huge numbers of data points without the need for special templates or fixtures.
The laser scan reproduced the part profile completely and precisely in the coordinate point cloud. The native software (Surveyor Scan Control) automatically connected the data from multiple views into a common coordinate system in a single 3D scan file. The set-up, scanning, and merging the data took about 2.5 hours.
Using touch measurement technologies to capture the small car’s curved irregular shapes would have taken much longer and produced a much less complete data set. Without non-contact laser scanning, this type of exact true-to-life shape replication of hand-made prototypes would be virtually impossible.
The Results:
An STL file was generated and refined from the scan data, and used to create surface wrap models and cross sections which took another 2 hours. These models were ultimately used to create the final deliverable of DXF cross section data for the CNC wire bending process needed to scale up and create the life-sized object.
As an option, Laser Design can also provide manufacturing prints for the assembly of these structural cross sections after the bending has taken place.
The Process
- Step 1: Capture geometries of part using 3D laser scanning
- Step 2: Merge all data layers into single file, process and refine data, and generate surface wrap model. Convert points to STL format.
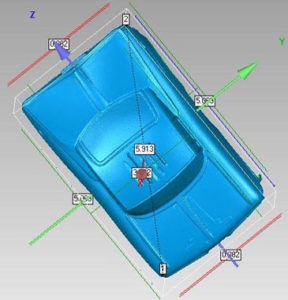
- Step 3: Define planes and align to world coordinates.
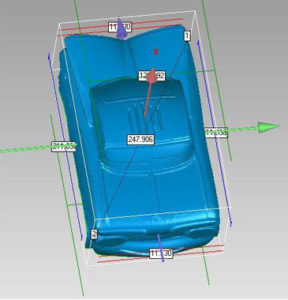
- Step 4: Scale small part to larger size and include a 3” offset from the external surfaces at full size scaling.
- Step 5: Generate cross sections in each direction at specified spacing and save as .igs curves.
- Step 6: Save .igs curves to files that can be used for both manual bending and automated bending of structural sections.
Step 1: Step 2:
Step 3: Step 4:
Step 5: Step 6:

