Laser Design has been passionate about 3D scanning for over 30 years. Being an industry leader with a long history of success comes from dedication and consistency. Throughout our history, we have successfully completed over 30,000 projects and we appreciate the ability to provide solutions to some of the most difficult 3D measurement challenges. We value our relationship with our customers, and it is our #1 priority to identify and provide the right solution for each of their needs. Through the process, we enjoy consulting and educating about available 3D scanning technology, the application of different 3D measurement devices, and the various deliverable outputs that can help our customers.
Below are three of the top reasons to choose Laser Design for your next 3D scanning project along with some details about our team, 3D measurement equipment, and most popular deliverables we provide.
1. Meet your Laser Design Sale’s Team:
Our exceptional group of Sales Engineers are highly skilled, have experience in many different industries, and are passionate about providing the best solution and experience for our customers.
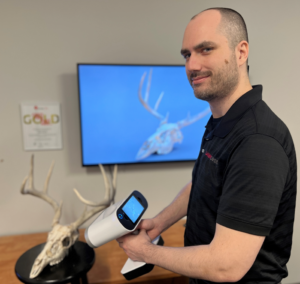
Kevin Shain
• Years in 3D scanning world: 17
• Education: Georgia Institute of Technology
• 3D Scanning Specialty: Artec Portable 3D Scanners
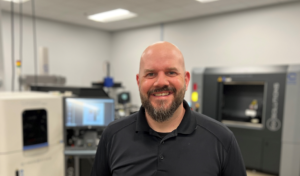
Nate Beckrich
• Years in 3D scanning world: 12
• Education: BS Industrial Engineering
• 3D Scanning Specialty: Metrology Grade 3D Scanners and Inspection Software
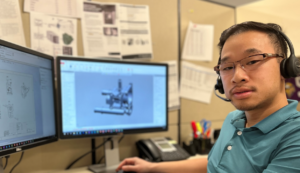 Tien Dang
• Years in 3D scanning world: 11
• Education: AS Engineering Drafting and Design + BS Industrial Engineering
• 3D Scanning Specialty: Reverse Engineering and Inspection Solutions
Mike Hinrichs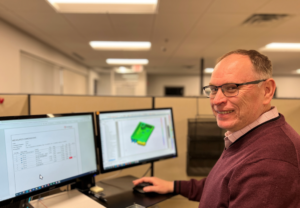
• Years in 3D scanning world: 6
• Education: Machine Tool Technology
• 3D Scanning Specialty: High accuracy 3D Scanning, CT Scanning, and Dimensional Inspection using scan data
2. 3D Measurement equipment for all application needs.
Each project is unique in its own way and should be measured with the right 3D scanning device. Laser Design has many different 3D scanners so that we can apply the best measurement technology for each application. With this capability, each application has the highest level of potential success.
To determine the right measurement approach, we start by learning about our customer’s project requirements including identifying critical features, tolerances, and specific use cases. Customers don’t need to be experts on 3D scanning, or know how to verify the right measurement type, that’s what we’re here for. All we need is to acquire enough information about the part(s) for measurement along with what the intended use is for the deliverable we provide. With over 30 years of experience, we have extensive knowledge of all types of applications and can offer a number of options based on what customer’s needs are, whether they know what they need or not.
Also, when our customers want to acquire their own 3D scanner, we can offer most of the systems we use for services. This ensures our customers are getting the same quality 3D scan data, and consistent deliverables, as they’ve come to trust over multiple services projects.
Consult with our Sales Engineering team on your next project via email or phone and we look forward determining and providing the right solution for you. Below is a summary of the 3D measurement equipment we can use for your next project.
Laser Design 3D Scanning System Summary
In-Lab Metrology Grade Accuracy Systems
Surveyor CMM with XLP 3D Laser Scanning Probe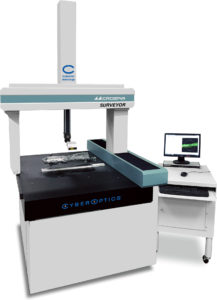
• Link: http://www.cyberoptics.com/product-category/3d-laser-scanners/
• Accuracy: +/- 6 µm
• Resolution: to 19 µm point spacing
• Part Size: tiny to large
• Use Case: Highest flexibility in part 3D scanning potential – great for all parts that need highest accuracy 3D scan data with line-of-sight access to critical features
EasyTOM 150 CT Scanner
• Link: http://www.cyberoptics.com/products/easytom-ct-scanner/ 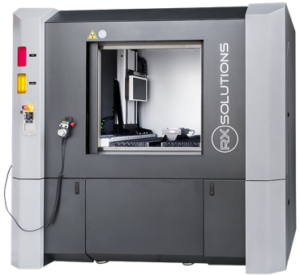
• Accuracy: +/- 2 µm
• Resolution: to 4 µm point spacing
• Part Size: tiny to medium
• Use Case: 3D scanning tiny to medium sized parts where external and internal surface geometry is needed along with any applications where analysis of internal material structure or assembly verification is required
CyberGage360
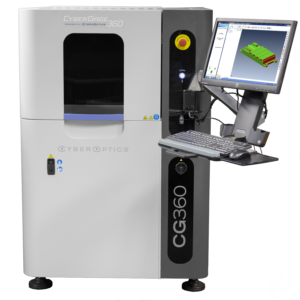
• Link: http://www.cyberoptics.com/product-category/3d-laser-scanners/
• Accuracy: +/- 25 µm
• Resolution: to 75 µm point spacing
• Part Size: small to medium
• Use Case: When 3D scanning and reporting for many parts is needed, the speed and ease of use of the CyberGage360 is key for the right sized parts
SQ3000 CMM
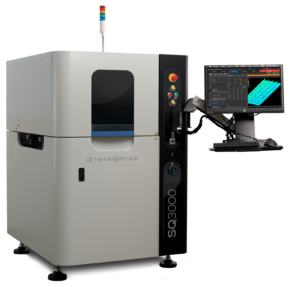
• Link: http://www.cyberoptics.com/products/sq3000-cmm/
• Accuracy: to 2µm
• Resolution: to 0.5 µm point spacing
• Part Size: tiny to medium
• Use Case: For 2D telecentric and 3D height measurement applications at a very high speed for low profile parts
Portable, Handheld and Tabletop 3D Scanners
Artec Leo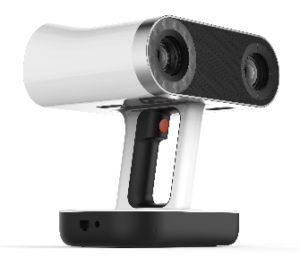
• Link: https://www.laserdesign.com/products/artec-portable-3d-scanners-leo/
• Accuracy: up to 100 µm
• Resolution: to 0.5 mm point spacing
• Part Size: 12” cube and larger
• Use Case: Medium to Large part or historical artifact scanning; human body scanning; fully portable without a need for laptop connection during scan data collection
Artec Eva
• Link: https://www.laserdesign.com/products/artec-eva-3d-scanner/ 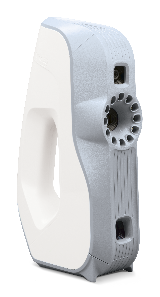
• Accuracy: up to 100µm
• Resolution: to 0.5 mm point spacing
• Part Size: 12” cube and larger
• Use Case: Medium to Large part or historical artifact scanning; human body scanning; fully portable without a need for laptop connection during scan data collection
Artec Space Spider
• Link: https://www.laserdesign.com/products/artec-portable-3d-scanners/ 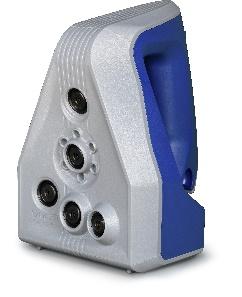
• Accuracy: up to 50µm
• Resolution: to 0.1 mm point spacing
• Part Size: 12” cube and smaller
• Use Case: for small objects with fine details
Artec Ray
• Link: https://www.laserdesign.com/products/artec-portable-3d-scanners-ray/ 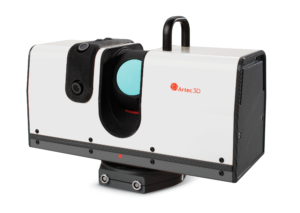
• Accuracy: up to 0.5mm
• Range: from .25m to 110m
• Part Size: Large object, vehicle, aircraft, boat
• Use Case: 3D scanning cars, airplanes, helicopters, boats, and large objects/parts
Artec Micro
• Link: https://www.laserdesign.com/products/artec-micro-desktop-3d-scanner/ 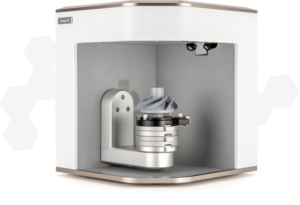
• Accuracy: up to 10 µm
• Resolution: to 29 µm point spacing
• Part Size: Tiny to small – 3” cube and smaller
• Use Case: For high accuracy scanning of small parts with fine details
Leica ScanStation P40.
• Link: https://www.laserdesign.com/3d-scanning-aircraft-vehicles-vessels 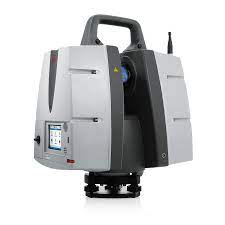
• Accuracy: between 0.5 and 1mm
• Range: from 1m to 270m
• Part Size: large objects, vehicles, and buildings
• Use Case: For scanning cars, helicopters, airplanes, buildings, historical sites, etc.
Portable CMM Arm with 3D Laser Scanner
• Link: https://www.laserdesign.com/3d-scanning-aircraft-vehicles-vessels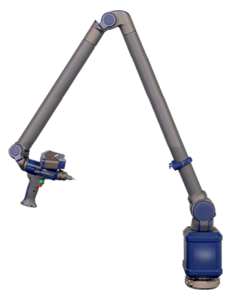
• Accuracy: .002”
• Resolution: up to 50µm
• Part Size: small to large
• Use Case: For objects that cannot be shipped to measurement laboratory that are small to large – also good for parts that require both touch probe and laser measurements
3. The Right Deliverables to Meet your project Requirements:
The two core applications made available through 3D scanning focus on inspection/analysis and reverse engineering. Below, we’ll explain in more details what these applications include and how they are valuable for our customers.
Inspection/Analysis:
To ensure a part meets design, engineering, and production specifications prior to being brought to the market, high-accuracy 3D scanning systems are used to capture millions of XYZ points on the surface of the part. This 3D scan data can be used to provide visual and tabular information to guide the next steps of a manufacturing process. Two key deliverables include:
1. Form Analysis
A form analysis report provides a 30,000-foot view of how well the measured part is built to the design specification. The highly-accurate 3D scan data is compared back to a nominal CAD by either aligning via best fit or datum alignment. From there, the differences between the geometry of the as-built 3D scan are compared to the 3D CAD file and deviations are shown in a color error map which provides a great visual tool to understand deviation.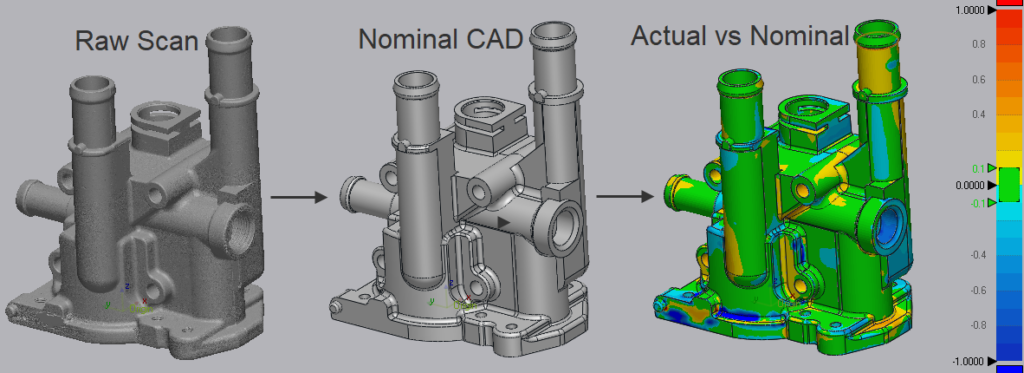
- Link to related content:
2. Dimensional Analysis
Features from highly accurate 3D scan data can be extracted and measured between. Using 3D features that have been defined by millions of data points provides a very high confidence in feature definition, along with the resulting dimensional measurements taken. Typical measurements that can be reports in both tabular and visual form are created from 2D cross sections and 3D features primarily and this can include critical dimensions from a print, or a full layout of all dimensions requested. 3D scan data is a great fit for dimensional measurements when parts are very complex in nature and traditional tools are not effective. Additionally, automated 3D scanning can increase the repeatability of measurements when performed on large sample sizes.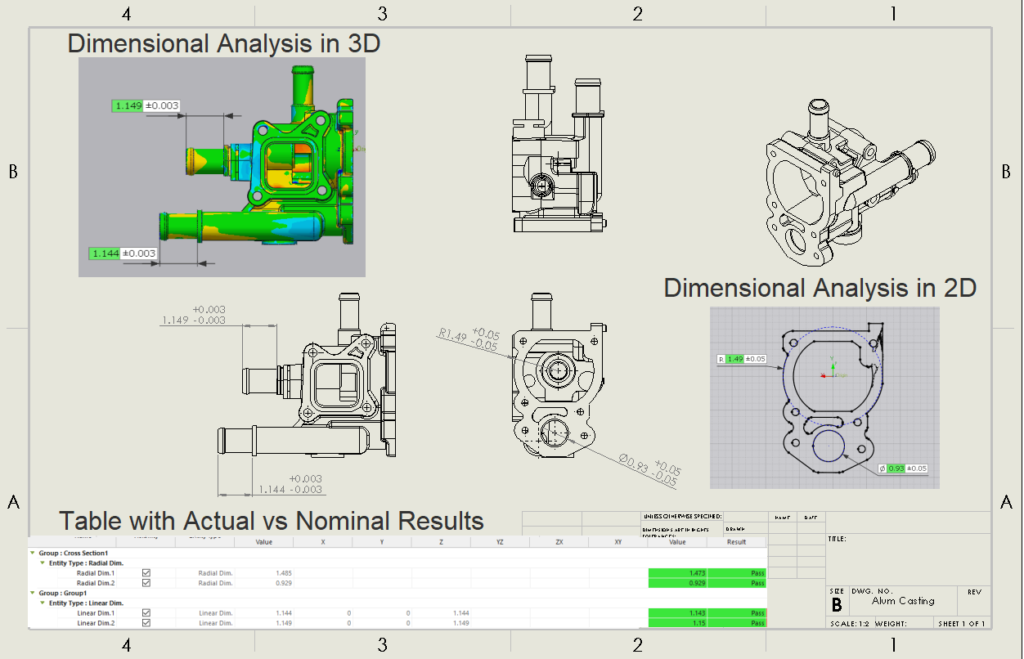
- Link to related content:
Reverse Engineering:
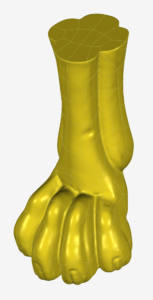
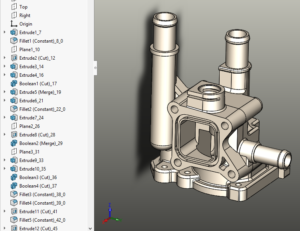
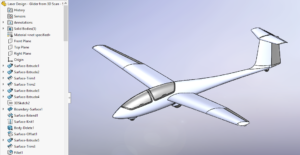
Engineers with CAD experience are familiar with creating 3D models based on 2D drawings. This has been the traditional method since 3D CAD modeling was invented. Unfortunately, this method can take weeks and sometimes months to accomplish the project end goal. With 3D scanning technology for reverse engineering, Laser Design can rapidly produce 3D CAD models in the most appropriate form and in the best format for your future use cases. During the modeling phase, we will apply what we learned in the early stages of our needs analysis process and create geometry to match the physical part’s dimensions with close to 100% accuracy (as-built), or we create the geometry to reflect the part’s intended design (design-intent). Additionally, the file format available for our customer’s applications depends on the part itself, what the customer is looking to do with the file we provide, and what the budget is for our services. With the use of software including Geomagic Design X, a reverse engineering software built to utilize the power of 3D scan data, we can create neutral and native files for our customers applications. Some of the most popular reverse engineered formats are:
- NURBS models in IGES or STEP format
- Neutral 3D Solid models in IGES and STEP format
- Parasolid 3D CAD Models in .X_T and .X_B format
- Native files in 3D CAD modeling software like:
- SOLIDWORKS
- CREO (ProE)
- Catia
- Unigraphics (NX)
- Inventor
- AutoCAD
https://www.laserdesign.com/ct-scanning-multi-part-assemblies/
https://www.laserdesign.com/3d-scanning-glider-with-the-artec-leo-and-ray/
