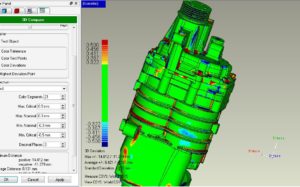
 The Challenge:
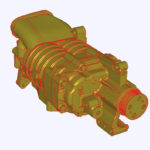
The customer was designing an improved aftermarket supercharger from the external casting of an old OEM stock supercharger, for which there was no CAD model and looked to 3D scanning for a solution.
The supercharger had very complex shapes, free-form curves, and radii that were critical to its high performance. These complex features would be very hard and time consuming to duplicate with a CMM. Non-contact 3D laser scanning the casting would give the customer a quick CAD model to which the design modifications and changes could easily be applied.
The Solution:
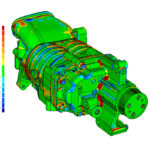
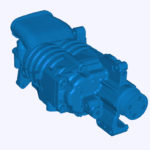
Laser Design metrologists laser scanned the supercharger casting on the Laser Design Surveyor WS-Series system using the SLP-500 laser probe. Scanning time was 3 hours. Over 2.5 million points were collected in the point cloud data. Conventional measuring would have taken much longer, up to 20 times longer, and the data would not have been as accurate and complete.
The Results:
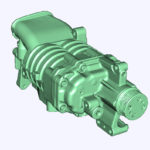
Once the scanning was complete, general clean up was needed on point cloud to produce an STL file for the customer. This data editing and file creation took approximately 4 hours.
The customer then used the STL to build his own CAD model which he modified to develop the new improved casting molds.
 |
 |
 |
 |
