Step 1 – Set up an Artec Account
Artec 3D scanners require Artec Studio software to process data, and this software requires an Artec user account be created. Creating a new account is fast and easy.
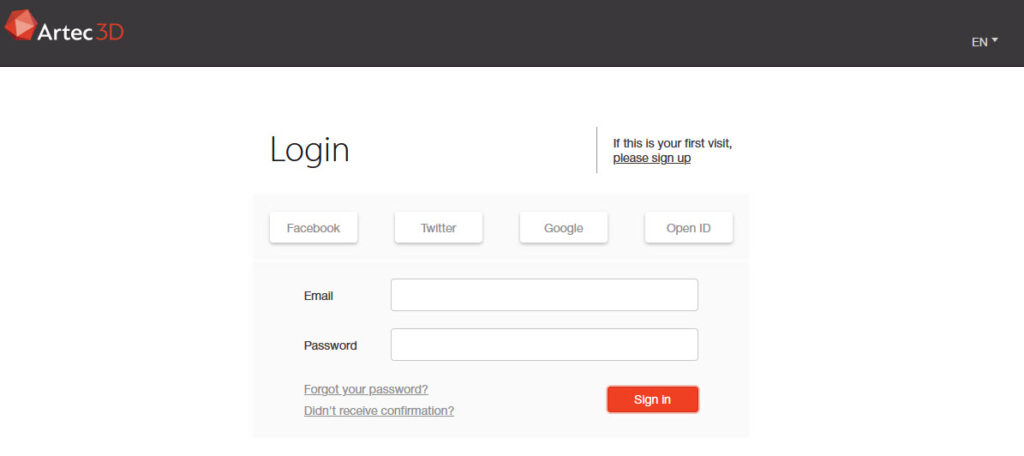
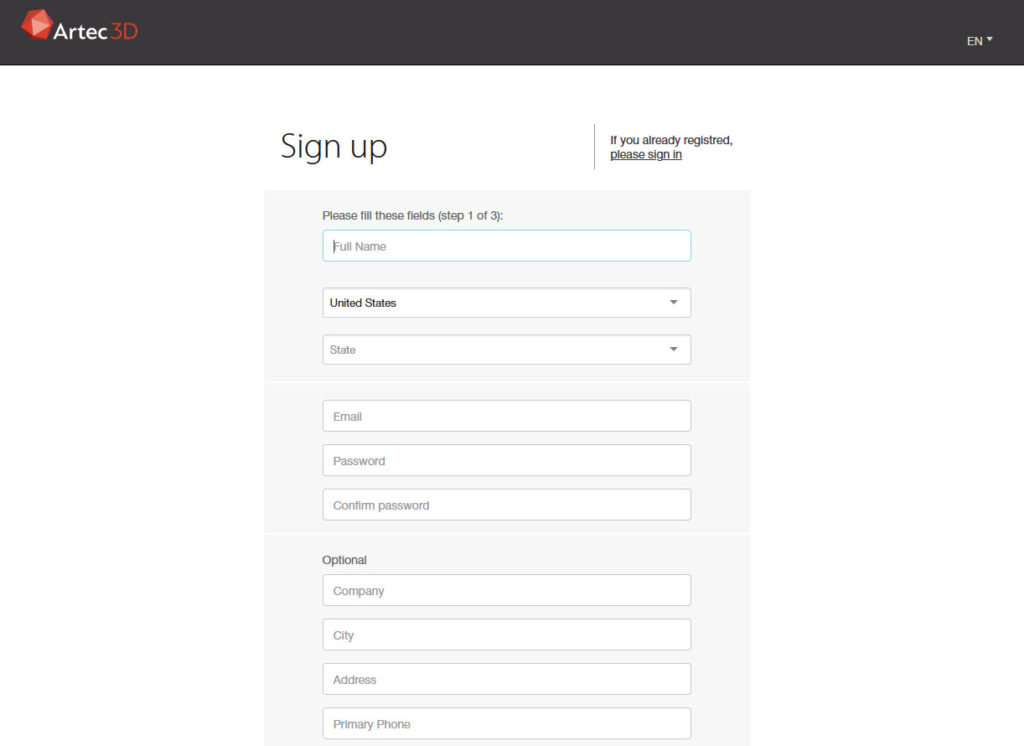
Please visit http://my.artec3d.com and register for a new account. You will then receive a registration email to confirm your account creation.
Please notify your Laser Design representative when you have created your account!
You may want to consider using an email address and password that you don’t mind sharing with your colleagues (neither Laser Design nor Artec will ever ask you for your password!)
Step 2 – Download and Install Artec Installation Center (AIC)
Artec Studio Software and Scanner Drivers are managed through the Artec Installation Center application which is installed on your PC.
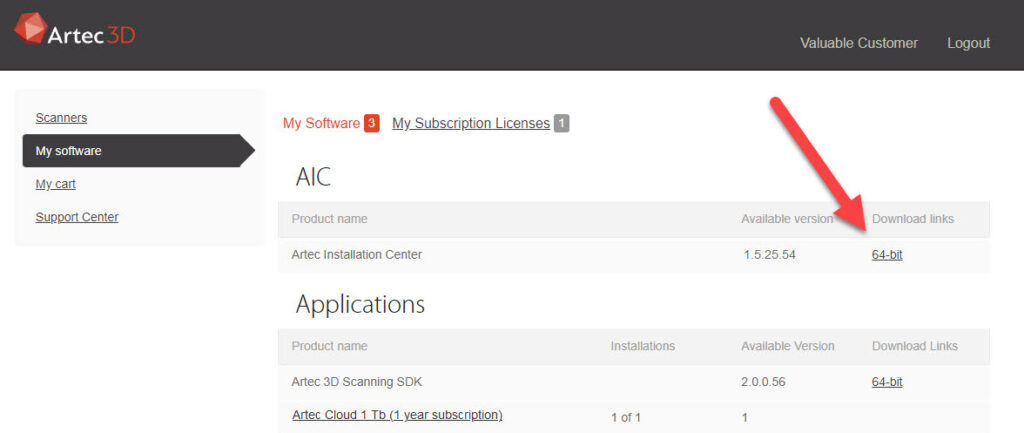
To download Artec Installation Center, log in to http://my.artec3d.com with your new account, and click on “My Software” on the left-side menu.
From here, locate the AIC section and follow the row to the right side of the page where a download link to the 64-bit installer is underlined.
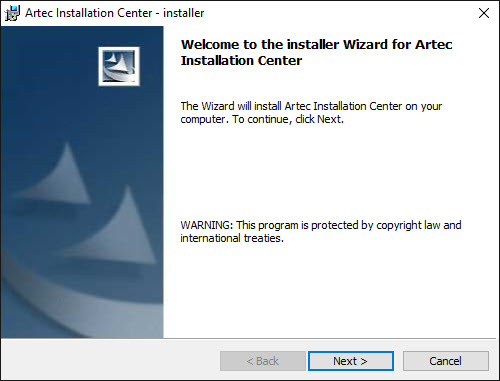
Install Artec Installation Center after it has been downloaded and follow the prompts.
Step 3 – Log in to Artec Installation Center (AIC)
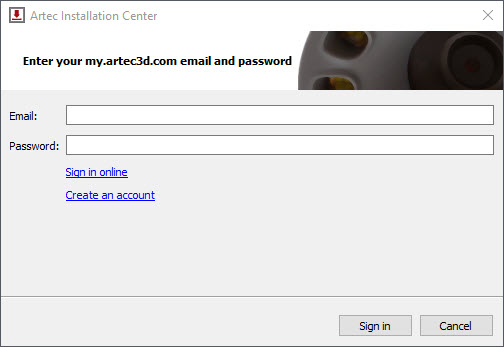
Once Artec Installation Center is installed, running it will prompt you to log in. You must be connected to the internet at this stage.
Step 4 – Install Artec Studio Software
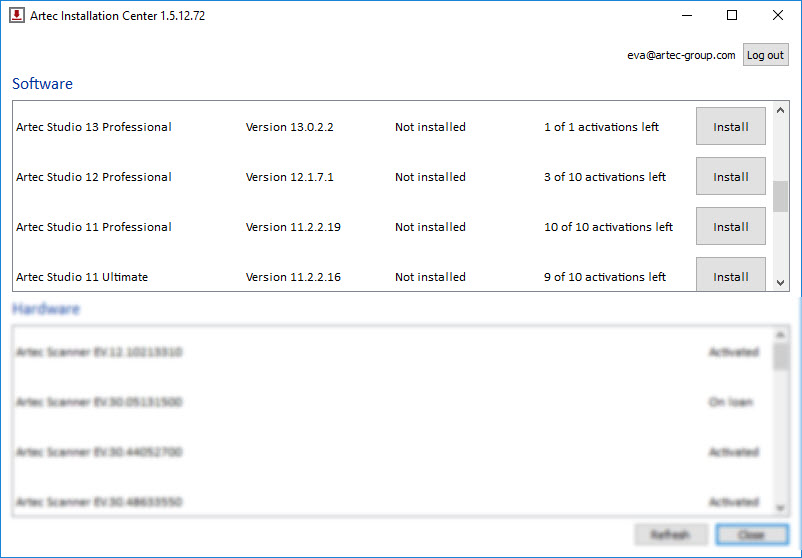
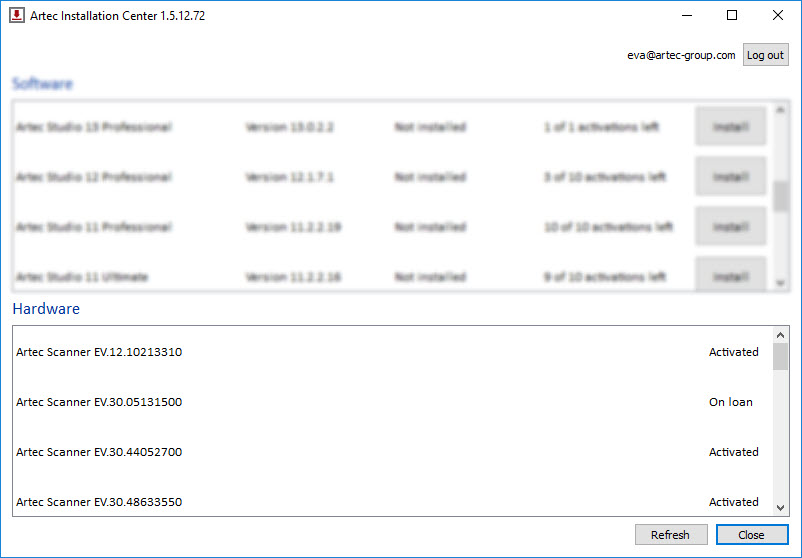
Once logged in to AIC, you will see a single window showing your Software list on top and Hardware list on bottom. Here is where you can click to download and install Artec Studio software.
You can also see the Artec Studio Trial located here. This is a separate installation from the main Artec Studio software.
The Artec SDK is the Software Developer Kit and is not needed for the Artec to work.
When updates are available, a new button will appear saying “Update”. You definitely want to keep the software updated to enjoy new features!
Step 5 – Activate your Artec 3D Scanner
The final step is to activate your scanner. If you are using the Artec Eva, Space Spider, Leo, Micro, or Ray, this section applies. If you are using a Leo, proceed to Step 6. Artec Studio should not be open at this time. For wired scanners, start by connecting the scanner to power, and then plugging the scanner in via the USB cable. You should hear the Windows USB connection sound. If this is your first time connecting this scanner, you may see a taskbar notification showing that drivers are being installed. This should not take more than a couple of minutes.
After drivers are installed, load Artec Installation Center. At the bottom of the panel, click Activate next to the Artec scanner you have plugged in, and when successful, this will show “Activated”. At this point, the scanner is ready for use!
This panel is also where you can click “Rent” to use scanners that belong to different Artec accounts.
Step 6 – Activate your Leo
To activate your Leo, you will need to have it powered and connected to the internet. You may first wish to charge the batteries, or you can use the included power supply. Turn on the Leo and follow the prompts to read and accept the user license agreement.
The next step is to connect the Leo to the internet. This can be done through the on-board WiFi or you can use a wired ethernet connection.
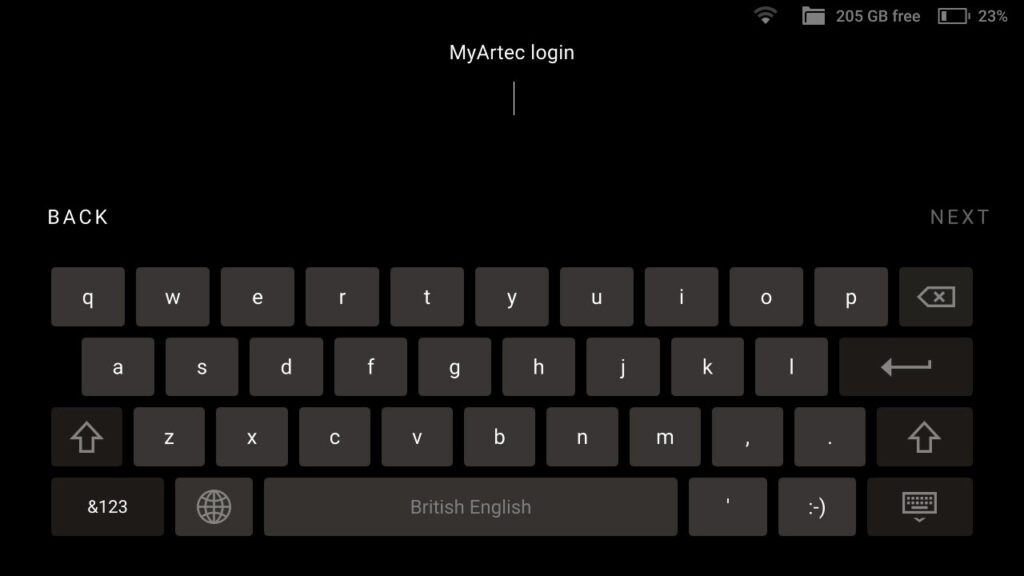
Once internet access is secured, follow the prompts to log in to your Artec account, afterwards you’ll be prompted to name the scanner. Click “Done” and you are ready to use the Leo!

