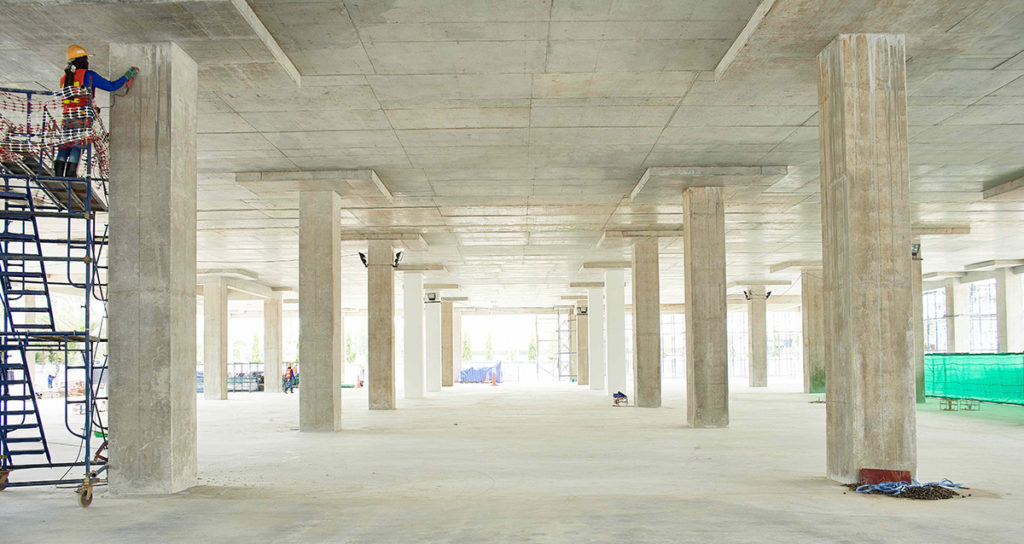
Laser Design recently worked with a construction engineering company to provide long-range scanning services for an eight-story office building project. This long-range 3D laser scanning technology offers the most complete and accurate method for generating flatness reports, a key requirement across construction and architectural design.
The Importance of Construction Floor Flatness
Ensuring exact flatness in concrete floors is essential to maintaining structural efficiency and safety. Even the most minute error in floor flatness can disrupt day-to-day operations, inhibit future construction efforts, and even cause damage to delicate or large-scale equipment. Some areas of a facility are designated as defined traffic areas and require a much higher flatness tolerance, known as superflat. By verifying a floor is built to superflat specifications, safety issues relating to floor flatness can be eliminated in forklift operation, with multi-level storage racking.
Measuring floor flatness is vital when rehabilitating or restoring existing buildings as well. Over time, concrete begins to settle and compromise the structure’s foundation. Therefore, it is imperative to identify and ensure the flatness of concrete floors to maintain tolerance and safety.

Laser Scanning vs. Traditional Measurement Methods
Traditionally, contractors and floor inspectors would deploy electronic floor profilers to meet concrete floor flatness requirements. But today, leading construction professionals rely on a much more accurate, efficient, and versatile solution: laser scanning. Laser scanning tools are fully compliant with industry guidelines (including ASTM, ADA, and AISC)—and empower contractors and inspectors to quickly measure the precise flatness of any concrete floor.
Unlike conventional measuring methods, laser scanning gathers comprehensive, extremely accurate as-built data to maintain project tolerances. This scanning technology captures millions of points across large areas of concrete, allowing users to quickly identify and correct low or high points in flooring.
Cutting-edge software also contributes to the efficacy of laser scanning. Today’s software makes it easy for construction teams to quickly visualize and verify laser-scanned floor measurements without errors.
The Project Demands and Process
For this project, the construction engineering company was tasked with performing a floor flatness report across all concrete slabs on an eight-story building’s interior. This report demonstrates that the cast-in-place concrete has been poured to meet minimum project specifications—and is essential for documentation and compliance.
The project manager connected with Laser Design to assist with this important task. After the successful construction of each slab, Laser Design’s specialists used state-of-the-art laser scanning technology and multiple scan locations to capture precise measurement data of all interior spaces.
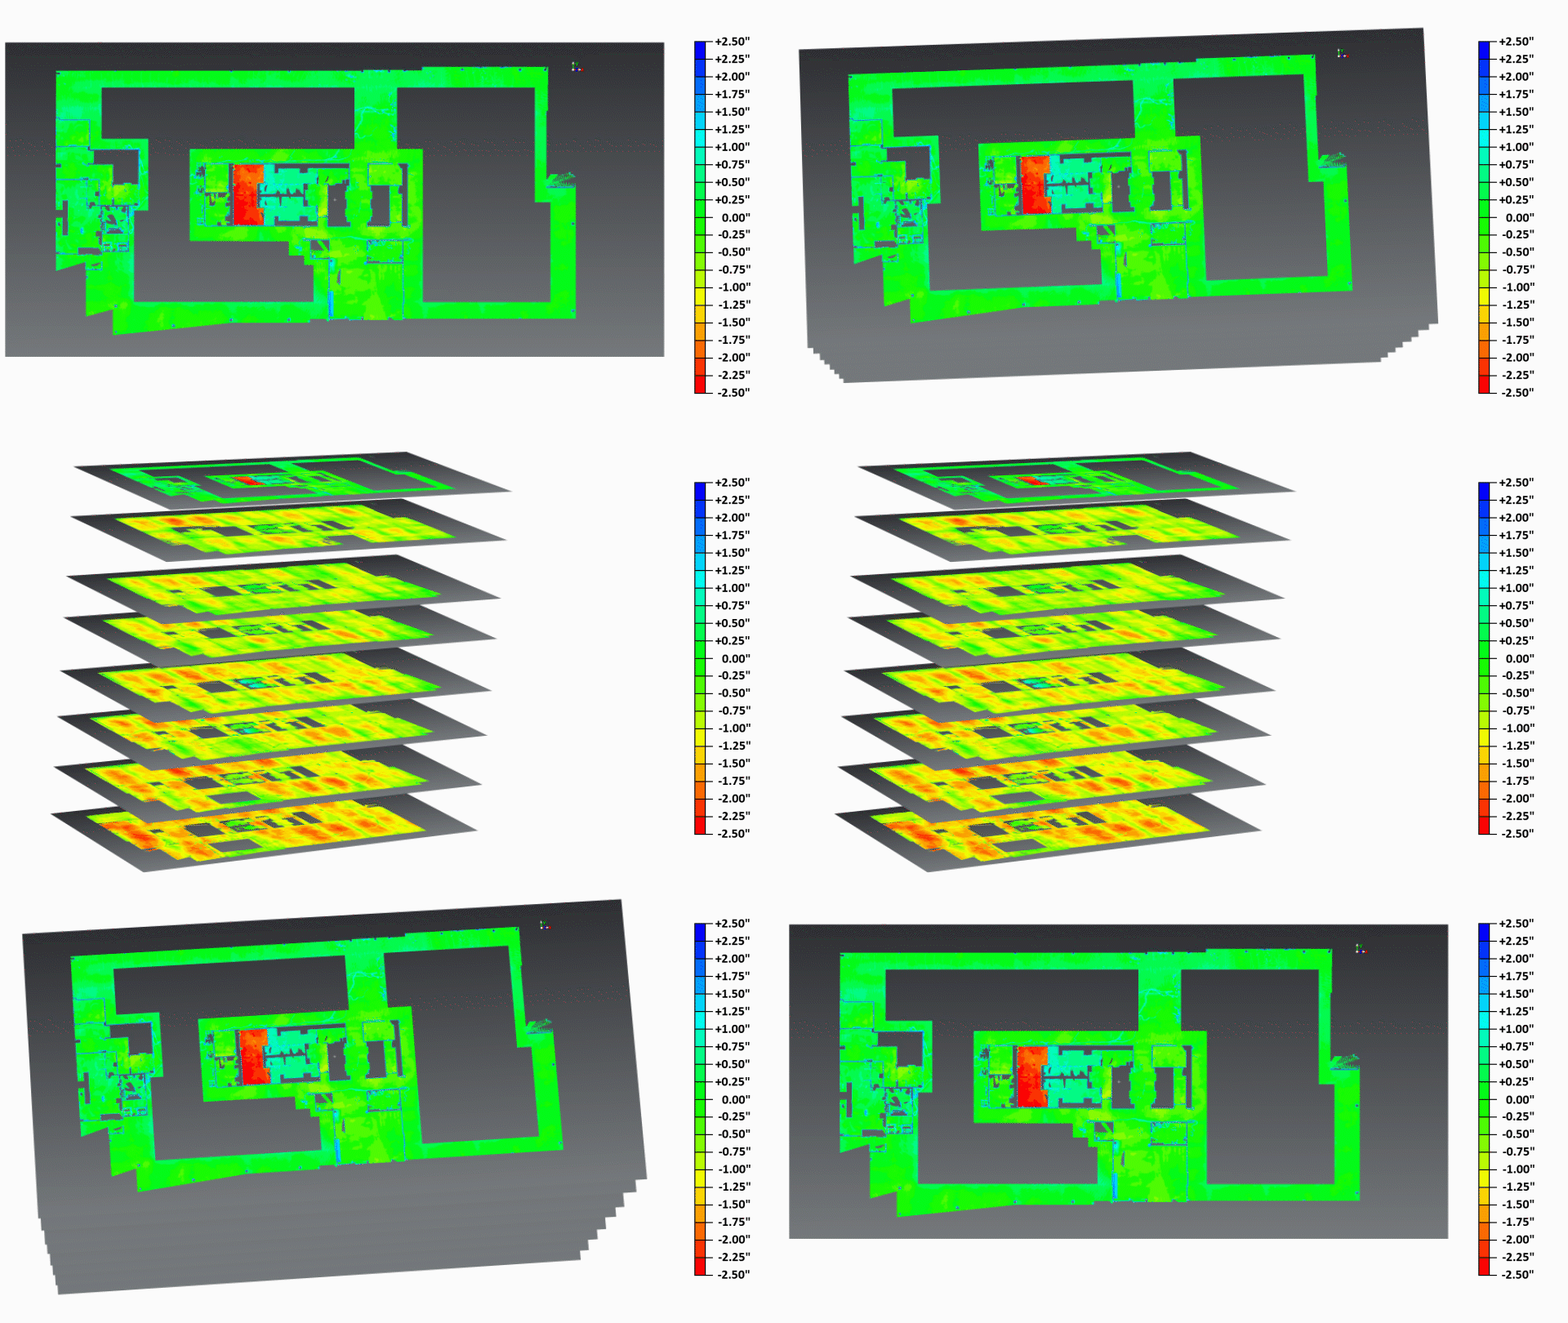
During data processing, quality assurance is performed to ensure all scans are properly aligned to maintain unrivaled accuracy. This construction 3D scanning technology uses scan data to produce detailed color elevation maps, which show even the most minor deviations from a specified elevation.
Why Use Long-Range Laser Scanning for Floor Flatness?
One of the most important benefits of deploying long-range laser scanning for floor flatness reports is precision. Using this solution, the contractor was able to visualize and adjust high or low areas more accurately than would be possible with any traditional measuring methods.
Speed is another crucial advantage of long-range laser scanning. This technology can be used to quickly visualize any floor’s flatness and levelness via a color-coded elevation map. For this project, the color scale of the map was set to match the structure’s exact tolerance requirements, allowing the contractor to fix elevation discrepancies with speed and assurance.
Laser Design’s flatness report proved to the building owner that the project was being built correctly and could move forward with confidence.

Laser Design’s Approach to Laser Scanning for Floor Flatness
Many modern structures require extreme concrete floor flatness (FF) and floor levelness (FL), especially when housing sensitive or large-scale equipment. To meet this demand, Laser Design employs powerful scanning solutions with unmatched measurement data.
For this construction project, we deployed a long range 3D scanner, which provides +/- 2mm accuracy and incorporates tilt compression accurate to 1.5 arc seconds. This scanner captures highly dependable measurement data across large spaces. Best of all, our 3D measurement process gathers scan data more quickly and accurately than traditional measurement methods.
Each scan we perform captures up to 1 million data points per second. Our scans also capture a 360° perspective across the space, allowing us to provide a comprehensive elevation report along with point cloud data. This highly detailed point cloud data empowers contractors to determine exact FF and FL values on any interior concrete floor and make corrective adjustments accordingly.
Laser Design’s powerful software tools allow detailed reporting based on ASTM E1155-14. You can learn more about our industry-leading 3D scanning systems and solutions on our website!
Make AEC 3D Scanning Simple with Laser Design
Thanks to Laser Design’s innovative scanning technology, new construction and building inspection projects are more efficient than ever! Our 3D scanning and measurement capabilities can assist with every step of your work, from initial design stages to final inspections. Our specialists bring years of 3D scanning experience to your project, providing exact measurements and data to save you on time, labor, and frustration.
To learn more about Laser Design, or how our state-of-the-art scanning solutions can support your AEC project, connect with us today. You can also reach out with any questions you have on 3D scanning services for construction or architectural design. We’re here to help.
